Initial Settings
Basic Information
When setting up a workflow, It's recommended to enter several key details in the left panel, including the workflow’s name, a description, the city involved, and the author’s name. These basic details help identify and describe the workflow clearly. The tags you add will help categorize the workflow, and the image URL lets you assign a custom image for visualization purposes.
Fields
- Name: What is the name of your workflow?
- City: Which city is this workflow for?
- Author: Enter your username.
- Description: Provide a brief description of your workflow.
- Tag: Tag your workflow with relevant keywords.
- Image (Required): CityFlow Runner image, such as
ghcr.io/kekehurry/cityflow_runner:latest, to associate with the workflow.
Setup Cityflow Runner
There are three version of default cityflow runner images:
-
ghcr.io/kekehurry/cityflow_runner:latest: Includes only the minimal dependencies required for the CityFlow platform.
-
ghcr.io/kekehurry/cityflow_runner:full: Includes commonly used packages for urban research.
You can also use your own image built upon these basic images. See terminal section to find out how to export custom image.
Install packages
In the packages field, you can install more dependencies. You can list the packages required for the workflow using both conda and npm and pip. The format should follow the yaml structure. For example, you might need packages like osmnx for Conda, and d3 for npm. The default conda channels are default and conda-forge. You can change the channels in the configuration too.
conda:
  - osmnx
npm:
  - d3
pip:
  - requests
channels:
  - default
  - conda-forge
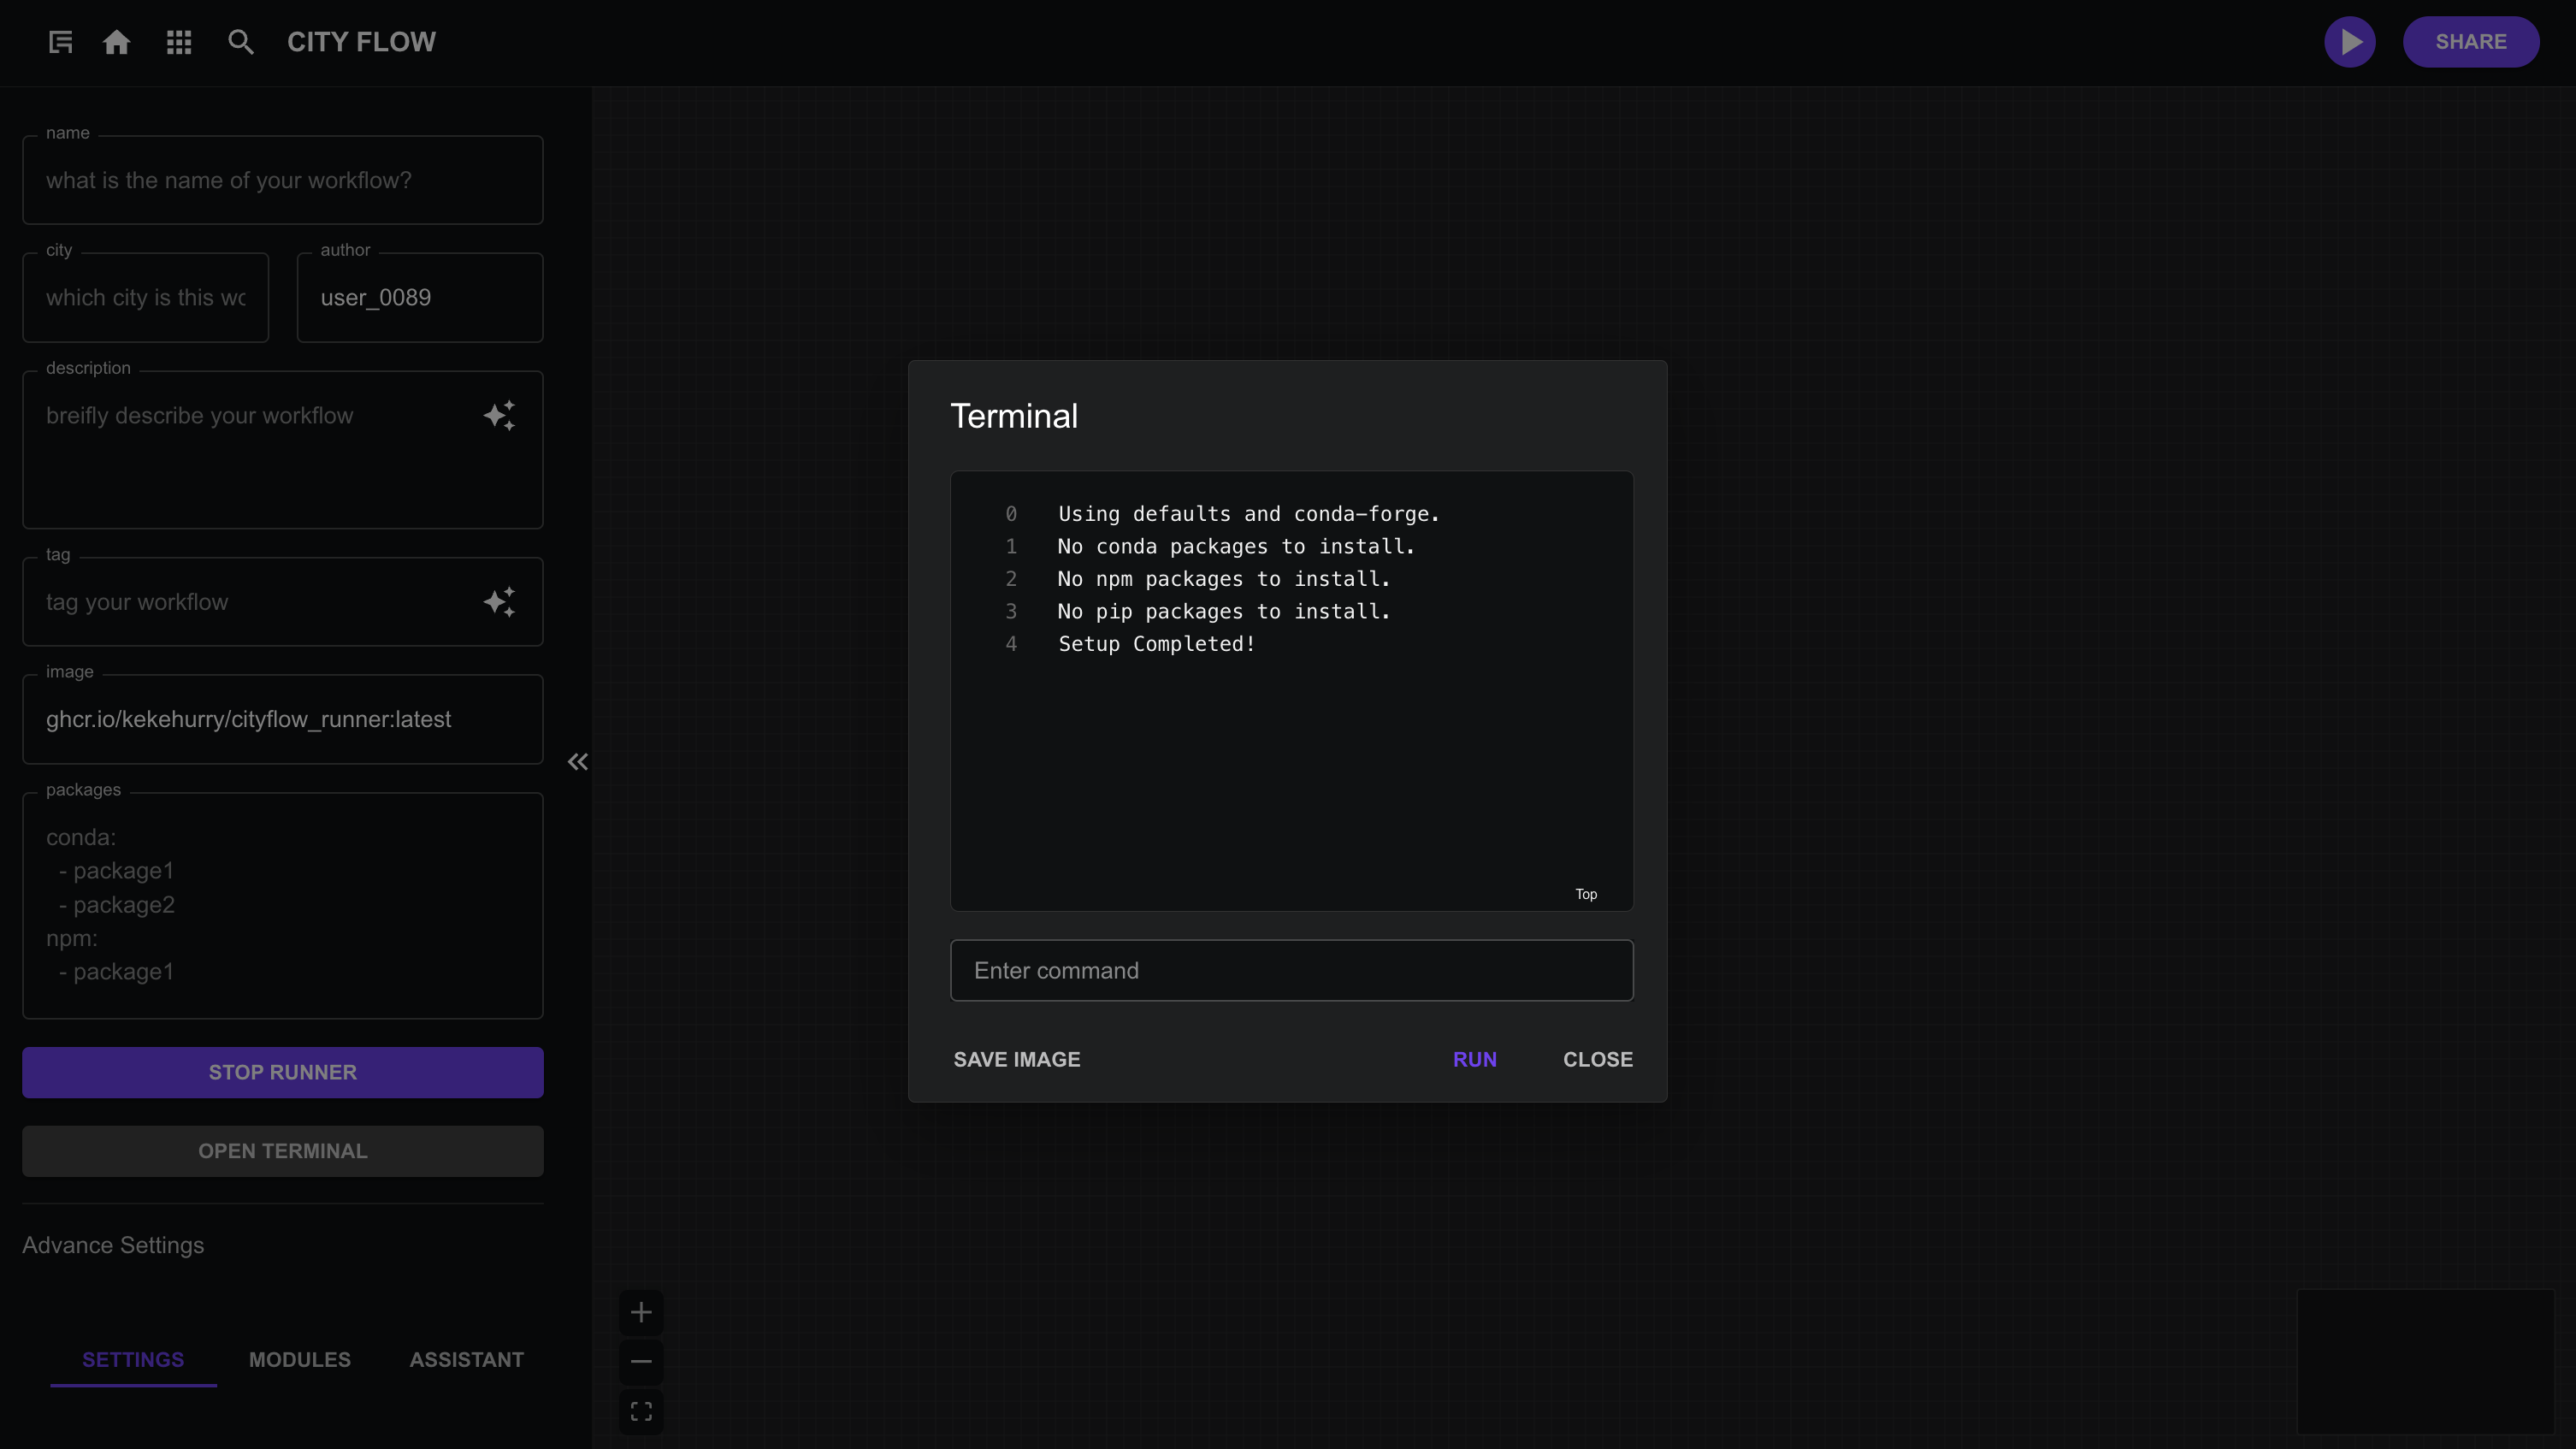
Terminal
When the environment is initialized, a terminal will automatically open to display setup information, and it will close once the environment is ready. You can also use this terminal to run Linux commands inside the CityFlow runner container.
In the terminal panel, you have the option to export your environment as a new CityFlow runner image by clicking the “Save Image” button. This image can then be used to initialize other workflows.
Init the environment
After the init setting, click Init Environemtn button to start.